
What gear (the basics):
1. A camera. Remember: “The best camera is the one you have with you.”
Most of us carry a camera every day in our pocket. It might not be the best, but you already own it. The top YouTubers and vloggers didn’t start with tens of thousands of dollars in camera gear, and neither should you. Phone camera technology has come a long way. At the higher end, you wouldn’t even know something was filmed entirely on a phone (like British travel vlogger @SuitcaseMonkey).
If you have an iPhone, Google Pixel, or equivalent, even a slightly older model, you already have a solid head start.
Want a dedicated camera? There are three main types of vlogging cameras:
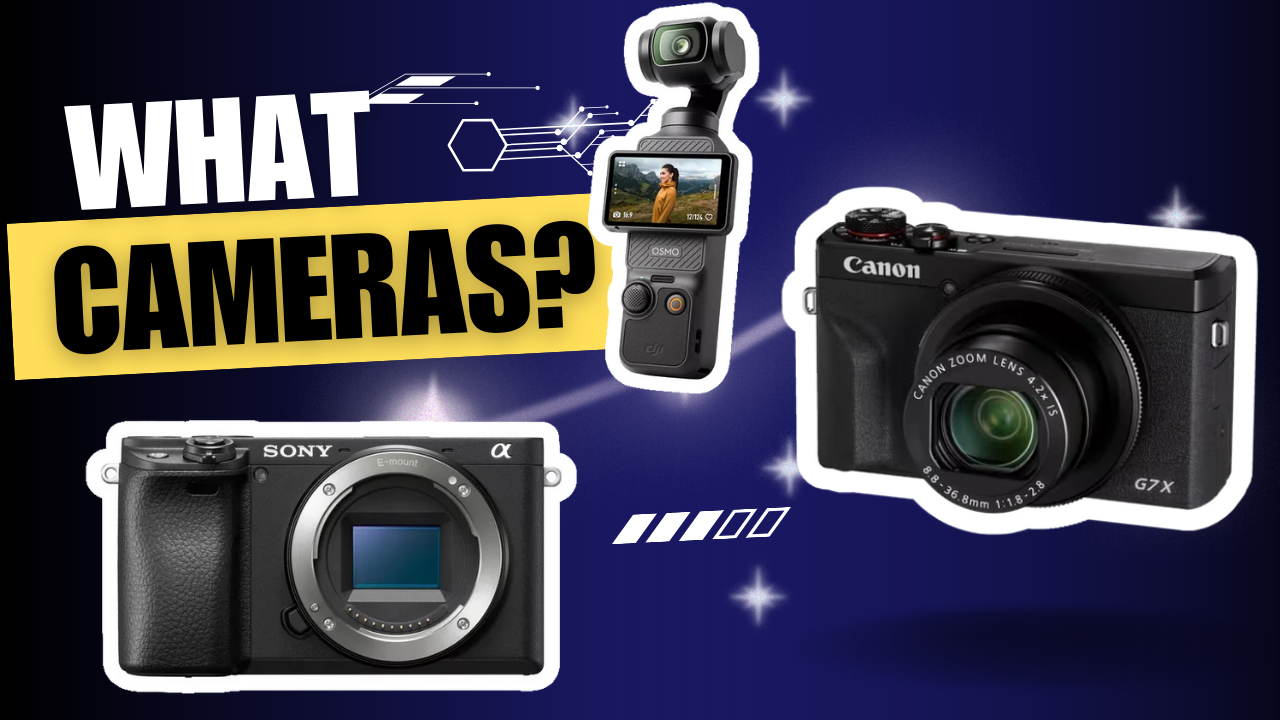
- Compact cameras like the Sony ZV-1 (£550+) or Canon PowerShot G7X Mark III (£800+) offer flip screens and good video quality in a pocket-friendly size.
Pros: Easy to use, built-in stabilization, flip screen for self-recording Cons: Can’t upgrade lens, limited low-light performance
- Mirrorless cameras such as the Sony A6400 (£800+) or Canon EOS R50 (£800+) provide excellent image quality and interchangeable lenses but are bulkier.
Pros: Superior image quality, lens flexibility, professional features, room to grow as you learn Cons: Larger size, more complex, shorter battery life, need to buy lenses
- Gimbal cameras like the DJI Pocket 2 and 3 (£279 and £475) combine tiny size with built-in stabilization, perfect for travel vlogging.
Pros: Fits in your pocket, excellent stabilization, 4K recording Cons: Tiny screen, limited battery, easy to lose
Too pricey? Don’t worry, you don’t have to spend £500+ on a camera to get started. If your budget’s tight, second-hand gear is a great option. Camera equipment holds up well, especially from reliable brands like Sony or Canon, and you’ll often find models that are just a few years old but still perform brilliantly for YouTube.
Here are a few good places to look for used gear:
- MPB.com: One of the biggest reputable online platforms for buying and selling second-hand cameras.
- Canon and Nikon: Official refurbished cameras, are tested and come with good warranty’s.
- ebay.com: Largest online marketplace for used goods, offers some buyer protections, can be risky.
- gumtree.com: Large selection of secondhand items, buy in person, no guarantees if faulty..
2. Power bank and charging cables. You do not want to be caught short.
Running out of battery in the middle of a shoot can mean lost footage, missed opportunities, and added stress.
If you are on location, always bring a fully charged power bank and extra charging cables, even if you think you might not need them. Filming video, especially in 4K, consumes more power than you might expect, and your phone or camera battery can drain quickly.
For reliability, I recommend brands like Anker and Ugreen, which are widely available on Amazon.
3. Lavalier microphone. Clean, crisp sound is more important than good video.
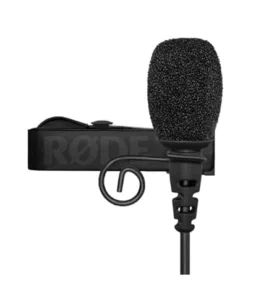
Clean audio beats great video every time. Viewers will tolerate mediocre video quality, but they’ll click away from poor audio instantly. Even stunning 4K footage becomes unwatchable with bad sound. If you can only afford one upgrade, choose a quality lavalier microphone over a better camera.
A lavalier microphone (or lapel mic) clips onto your clothing for clear, hands-free audio. Modern ones can use wireless connections, letting you move freely without being tethered to your camera. They drastically improve sound quality over built-in camera mics. Don’t go too cheap, reliable lavs start around £50, but it’s money well spent for keeping viewers engaged.
I recommend the RØDE SmartLav+ as a good-quality entry-level option, that can plug into your phone. (But you need an adapter if you want to use it with a camera.)
4. SD card, and SDDs Expand your storage.
If you’re shooting video, especially in 4K, your storage will fill up fast. Cameras do best with SDXC cards (perfect for 4K), while SDHC is fine if you’re sticking to 1080p. Just make sure the card is rated U3 or V30 so it keeps up with recording. For phones, a microSD card (if your model supports it) is an easy upgrade, but if not, you’ll need to move files off regularly.
It’s worth having a couple of spare cards on hand in case one fills up or fails. Stick with solid brands like SanDisk, Samsung, Lexar, or Kingston — the cheap no-name cards are more likely to let you down. For backups and editing, an external SSD makes life much easier. Something like the Crucial X9 or PNY RP60 is affordable, fast, and way less painful than waiting for hours of uploads.
5. A good computer for editing.
If you can afford it, a good laptop or PC makes video editing a lot easier. Video files, especially 4K, are large, and editing them requires a computer with enough processing power, memory, and storage. A faster machine means smoother playback, shorter export times, and less frustration when working on longer projects. You do not need to buy a high-end MacBook or Mac Mini, but you also cannot expect smooth editing on a very cheap budget PC. If money is tight, consider buying second-hand. There are plenty of older but still powerful computers available at lower prices if you do a little research.
What if you cannot afford a computer?
You can edit on your phone. Many beginner vloggers start this way, and phone editing apps have improved a lot. Apps make it possible to cut clips, add music, and create polished videos without ever touching a computer. The trade-off is that editing on a small screen can be slower and less comfortable, especially for longer videos. Storage space will also fill up quickly. You can find recommendations below in what software
What software:
You don’t need to spend hundreds on editing software. You can still make professional looking videos and thumbnails using open source or free software, that even seasoned youtubers use. Here are some recommendations for free and paid options:
Video Editing Software
For computers:
- DaVinci Resolve – Free professional level software. And a popular choice.
- kdenLive – The free OG open source video editor.
- imovie – Free (mac only) beginner friendly editor.
- Adobe Premiere Pro – Paid monthly subscription. Used by professionals, industry standard.
For phones:
- YouTube Create – by youtube, completely free
- VN – by Ubiquiti Labs, completly free
- CapCut – by bytedance(tik-tok), free basic and paid subscription.
- InShot – free basic version adds water-mark unless you watch an ad, and paid pro subscription
You can use some of these editors on desktop as well.
Image Editing for Thumbnails
Don’t overlook thumbnails, they’re arguably the most important factor in getting clicks on YouTube. A compelling thumbnail can make or break your video’s performance.
- Online tools such as Photopea and Canva offer powerful editing capabilities right in your browser, perfect for quick thumbnail creation without installing anything. And come with lots of templates.
- Desktop apps like GIMP provides professional-level editing for free, while Photoshop remains the industry standard if you don’t mind the subscription cost.
- AI-powered shortcuts – We’re living in the future now, you can feed an AI tool an image and ask it to create a YouTube thumbnail for you. It’s a way to get professional-looking results without mastering complex editing software right away. But, the results can sometimes look ‘fake’ or off-putting.
Finding Assets
Videos can be a bit bland without adding music, sounds or sometimes you need some stock photography. here is a list of free and paid options:
Music and SFX:
- PremiumBeat.com – For music and SFX, Paid, but well regarded. You wont get copyright strikes.
- Epidemic sounds – Paid, used by many popular youtubers, like Chris Broad for example.
- YouTube audio library – Free royalty-free music and SFX provided by YouTube.
- Pixabay music – Free large collection of royalty-free music for videos.
Images:
- Pixabay – Huge library of free images, illustrations, vectors, and videos.
- Pexels – High-quality photos and videos, free for personal and commercial use.
- Unsplash – Stunning, high-resolution photos contributed by photographers worldwide.
Beginner Tips:
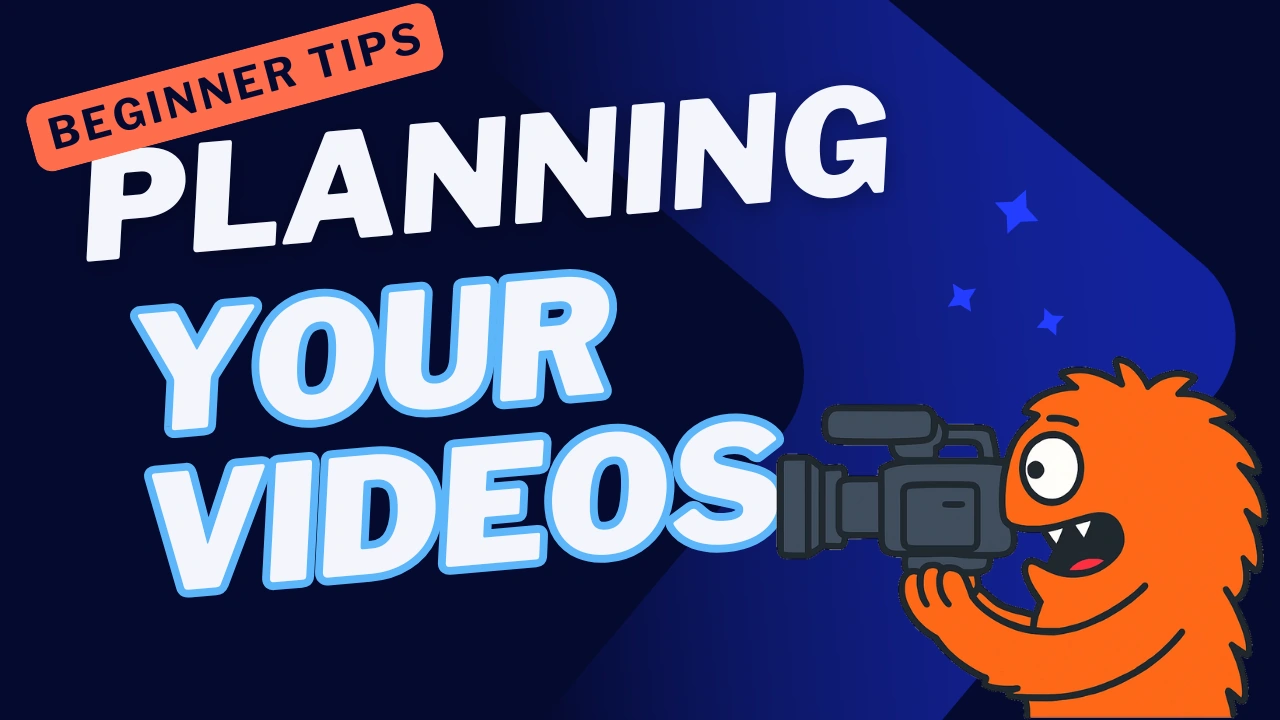
Plan your video
The difference between amateur and professional-looking vlogs isn’t expensive gear, it’s planning. A little prep work can save you hours of frustration and prevent that sinking feeling of getting home with unusable footage. Think about what shots you need and plan your filming order around practical considerations, not the final edit order. Film all your outdoor shots while the light is good, or knock out multiple takes of your intro when you’re feeling energetic.
Research Your Topic
Don’t just wing it. Do a quick check: opening hours, entry fees, parking, weather, and any filming restrictions. Look up interesting facts or stories about your location, having a few talking points ready prevents awkward silences and gives you something to fall back on when you run out of things to say. A two-minute Google search can save you from a completely wasted filming day.
Storyboarding
A storyboard is simply a sequence of rough sketches showing your key shots, like a comic strip of your video. You don’t need artistic skills; stick figures and basic shapes work perfectly fine.
Sketch out your opening shot, main scenes, and transitions on paper or your phone’s notes app. The process of visualizing your shots helps you think through your story flow and identify what footage you actually need. Even if you don’t take it with you, creating a storyboard prevents you from wandering around location aimlessly wondering “What should I film next?”
Make a script
Even if you prefer speaking naturally, jot down key points, transitions, and your opening/closing lines. Having a loose structure prevents rambling and gives you something to fall back on when you inevitably forget what you were saying mid-sentence.
Write stuff down
Don’t rely on memory—you’ll forget something important. Create simple checklists covering everything: gear to pack, shots to capture, people to contact, and tasks to complete before leaving. Break it down by categories: equipment checklist (camera, batteries, memory cards, microphone), shot list (opening, key scenes, B-roll), and logistics (addresses, contact numbers, backup plans).
Keep your lists accessible on your phone so you can check things off as you go. Review them the night before filming, not as you’re walking out the door. Nothing kills momentum like realizing you’re an hour away from home with a dead battery and no charger. Those few minutes spent making lists prevent wasted trips and unusable footage.
Get b-roll (and background audio)
B-roll is any footage that isn’t you talking directly to the camera, hands doing things, scenery, close-ups of objects you’re discussing, people walking by, or details that support your story. Plan these shots ahead of time because they’re easy to forget when you’re focused on your main content.
B-roll saves you from boring talking-head footage, covers up awkward edit cuts, and keeps viewers engaged. Shoot more than you think you need, it’s easier to have too much than to realize later you’re stuck with jump cuts and no way to fix them. Also consider capturing ambient audio from your locations (traffic, waves, crowds) to layer under your footage and create atmosphere.
Get friends involved
It’s always helpful to have a second pair of hands. Even if they are just holding the camera.
After the honeymoon period wears off, you’ll realize creating content is actually quite a bit of work, producing, shooting, and editing videos takes time. That’s when motivation starts to wane.
It’s great to have someone to chat with on long drives, bounce ideas off, help lighten the load, and wake your lazy butt up in the morning to get you out the door, even if they never appear on camera.
Some brilliant creative partnerships have started this way, and many successful vloggers credit their behind-the-scenes friends as essential to their success.
…Just do it
Experience is better than the best gear. The best thing to do is just start making videos. Get out there and film stuff you’re interested in.
You’ll learn so much just by doing, instead of spending weeks or months planning and buying the best gear you can afford. Real filming teaches you things no review or tutorial can, how your camera handles different lighting, what your editing workflow actually needs, where your audio fails you.
You’ll discover the limitations of your equipment and what features to look for when you finally feel ready to upgrade.
Every day you delay filming is a day you’re not improving.
The Real Challenge Starts Now
You’ve gained some traction, thousands of subscribers and growing. You might think you’ve figured it out, but success brings problems most creators never see coming. The hardest part isn’t building an audience. It’s keeping your sanity once you have one…
Read next: Beware: The Dark Side of YouTube Success
